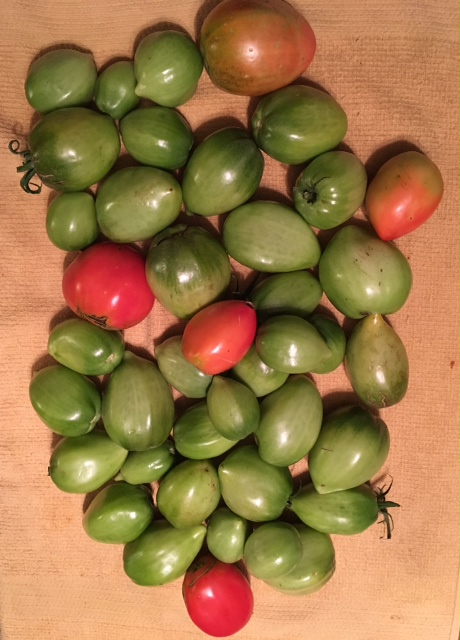
With all the hard work (and love) that goes into gardening, it’s always a shame to see “summer plants” loaded with unripe fruits and vegis in the fall. Unlike Kale, or Brussel sprouts, which can actually get sweeter with a little frost, tomato plants tend to shrivel up, stall out, or just plain rot away. Rather than wait, and hope, for my green tomatoes to turn red before winter sets in, I decided to combine two of my favorite things: salsa and fermented foods. As mentioned in a previous post(sauerkraut), not only is fermentation an excellent preservation method, it is also an affordable way of getting probiotics into your diet.
Probiotics are the good bacteria in the stomach that have been shown to boost the immune system, decrease inflammation, and regulate hormone production (hence the stomach’s nickname “the second brain”). In fact, poor gut flora has been linked to conditions such as fibromyalgia, GERD (reflux), and clinical depression. While almost any vegetable can be fermented, I am a big proponent of using what is local, in-season, and in-stock. To try your hand at making fermented salsa, check out the recipe below:
*** Note: Red tomatoes can also be used (I actually used a combination of both).
Fermented Green Salsa (HOT):
> 6-7 Medium Tomatoes, chopped
> 4-6 Jalapeno or Fresno Peppers, chopped (less based on heat preference)
> 2 Hungarian Peppers, chopped
> 1 Small Onion, diced
> Juice of 1 Lemon
> 6 Cloves of Garlic, peeled and minced
> Handful of Cilantro, rinsed and chopped
> 2-3 T. Unrefined Sea Salt (no additives)
> 1 oz. Raw Apple Cider Vinegar
1). Hand chop, or pulse in a food processor, everything except vinegar, salt, and lemon juice.
2). Place all chopped ingredients into large bowl.
3). Add remaining 3 ingredients, and stir to incorporate.
4). Funnel salsa into wide mouth jars, making sure to leave at least 1-inch of head space.
5). Using a wooden spoon, or similar object, lightly smash down the salsa to further release its liquid. (This is more important when hand chopping ingredients).
6). If “smooshed” correctly, there should be a slight layer of liquid across the top of the ingredients; this helps to keep mold from forming on the salsa itself.
7). Close jar with traditional canning band/seal to a loose finger tightness.
8). Cover jars with tea-towel and leave them to sit, at room temperature, for 3-7 days. Make sure to “burp” the jars periodically to avoid excess pressure build up (the seals will begin to bulge/swell upward as CO2 is created). The number of days is dependent on the general temperature of the room and your personal taste preference. Occasionally a small layer of white mold will form on the salsa (remember the important liquid layer from smashing the salsa in step 6); if done correctly, you can usually scrape the top layer off with a spoon and continue on with the process.
9). Once the salsa is to your liking, cap firmly, refrigerate and enjoy!
Note: Fermented foods typically have a shelf-life of nearly six months. This does vary item to item. If you are concerned about spoilage, it is best to heed on the side of caution, and discard the product accordingly.

I love that this recipe combines two of my favorite things: fermentation and fresh produce.
LikeLike